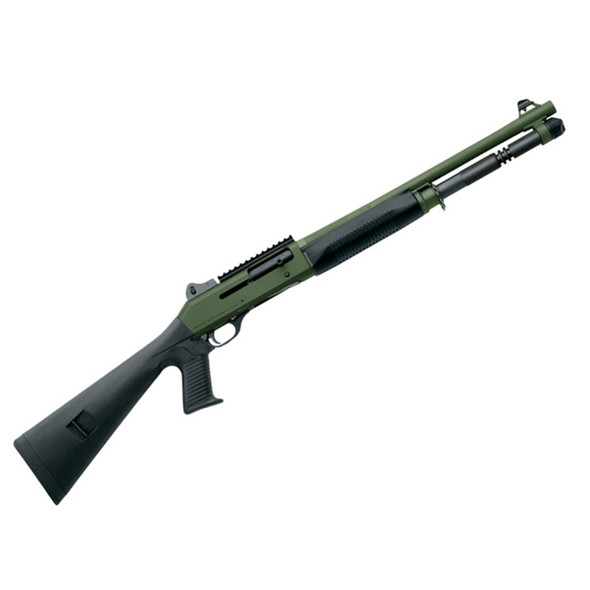
XS Sights
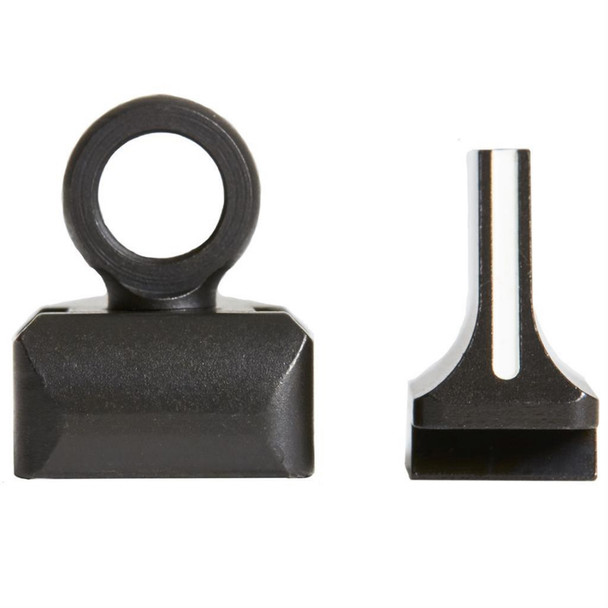
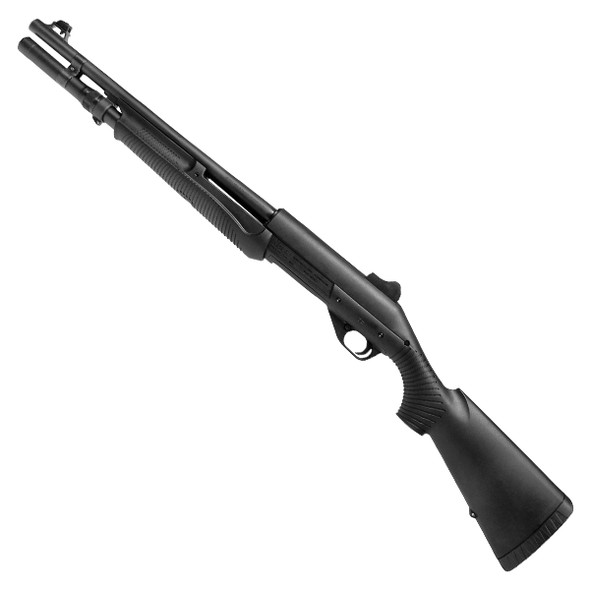
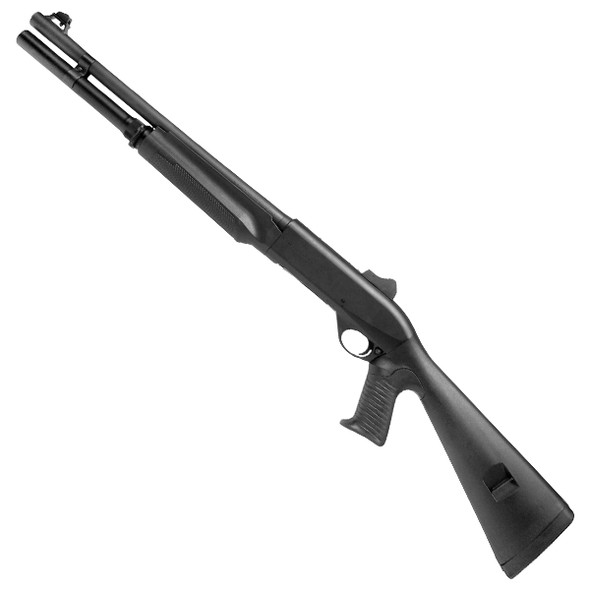
XS Sights Ghost Ring WS Browning
Log in for special member pricing. Use "Request Quote" for: RFQs, Bulk discounts, Out-of-stock items, Regulated products, Tax-exempt sales.
Please use separate carts to keep free shipping offers.
Air freight orders: Submit by 12 PM PST for same-day shipping.
- SKU:
- XSSights-BR-000
- Weight:
- 0.25 LBS
Description
White on black front post that is perfect for all light conditions.|The white stripe draws focus to the front sight for fast target reference|Large Ghost-Ring affords great field of view for fast target acquisition|Ghost-Ring rear sight is fully adjustable for windage and elevation
White Stripe Dovetail Front Sights Tools Needed: non-marring punch (brass, delrin, nylon), Q-Tips, alcohol
1. Place the gun in a padded vise.
2. Drive out the existing sight using a brass or steel punch.
3. Clean the factory dovetail until smooth (Q-tip, toothbrush, file as necessary).
4. TEST SHOOTING! Rifle Front Sight Plastic Test Post Use the plastic test posts to verify correct sight height before installing the steel sight. Install the shorter test post (same height as steel sight). If the test post is too loose in the dovetail, place a piece or two of scotch tape on the bottom of the test post to secure it in the dovetail. If the test post is too large, you can shave it down until it will fit. Remember, the post is plastic so you can press it in the dovetail if it is slightly too large. Shoot to determine Point of Impact (POI). If POI is correct, or close enough to zero using the rear sight, install the steel sight. Each section of the test post is 0.050” and will move POI approximately 8 inches at 100 yards. If POI is low, remove one section of test post and shoot again. If POI is high, install the tall test post and shoot. Repeat the process until you are on target. Measure the test post to determine the needed height. US Customers ONLY: Call toll free to exchange the supplied uninstalled sight for one of the correct height. If the sight has been installed, we will replace it with a different height for 50% of the retail price plus shipping.
5. Once the height is confirmed, test the steel sight into the dovetail. Entry side does not matter; test both sides to find the best fit. If it goes in at least half way, or loosely slides through, skip to 7. Friction fit is not necessary.
6. Using a fine file or emery paper on a flat surface, remove steel from the bottom of the sight until it will enter the dovetail halfway. If the sight still does not fit, but you have reached the minimum height, move to step 7; elsewise, skip to step 8.
7. Using an angled dovetail file, file on one of the angled faces of the dovetailed portion of the sight until the sight enters halfway. a. 65° 1911 Dovetail Type Slot Straight Base file 080-648-265WB b. 60° Dovetail Slot sight base file 080-648-260WB
8. Remove the sight. Degrease the slot and the sight.
9. Apply red threadlocking compound to all mating surfaces. *Red threadlocker is a necessary component of our sight installation process - sights can fall off without the use of red threadlocker.
10. Install the sight using a non-marring punch.
11. Let sit for 10 minutes, and then lightly remove the excess clumps of red threadlocking compound with a Qtip. In this initial clean-up, do not clean aggressively, as you will remove the compound from the joint. Let it set for 3 hours.
XS Ghost-Ring Aperture Sight Installation
1. Place the gun in a padded vise.
2. Remove the plug screw(s) from the rear scope base holes.
3. Degrease the sight and receiver.
4. Apply a small amount of red threadlocker to the bottom of the sight and spread it around so a thin layer covers approximately 80% of the base. Too much compound can crawl into the action, locking up critical moving parts. Place the sight on the receiver so that the mounting holes align. For sights with a protruding stud, press the stud into the mounting hole. Mount the sight so that the aperture is closest to the shooter’s eye (if applicable).
5. Apply a very small amount of red threadlocker to the screw threads up near the head and tighten.
WARNING This product may contain chemicals known to the State of California to cause cancer and birth defects or other reproductive harm. For more information go to www.P65Warnings.ca.gov. You must be 18+ years old to shop and or purchase on our website and 21+ to purchase Ammunition/Firearms. Check local laws before ordering as you certify you are of legal age and satisfy all federal, state, and local legal/regulatory requirements. There are NO returns or exchanges on armor, firearms, ammunition, PPE equipment. Ammo ships UPS ground to the lower 48 states.
We reserve the right to fix any critical errors.
